Complete preparation guide
Choose text size
Change the article text to large, larger or largest.
01
Allocation of marks
- Appearance: 30%
- Taste: 70%
- A loaf without a recognisable sourdough flavour will be disqualified.
- Fermentation holes that are clearly too large or too small may cost 5%.
- A heavy and overly dark loaf may cost 5%.
02
Starting a sourdough culture
You will need clean glass jars, flour, unchlorinated water that is not too cold, and a digital scale.
03
Day 1
Mix 50 g flour with 50 g unchlorinated water. Cover the jar with a cloth and leave it for 24 hours at a comfortable room temperature.
04
Day 2
Place only 50 g of the mixture in a new, clean jar. Add 50 g flour and 50 g water and mix well.
05
Day 3
Repeat Day 2. A sour smell and a temporary rapid rise may now occur; this early rise does not yet mean the culture is ready for baking.
06
Day 4 and thereafter
Feed the culture every 12 hours in the same way. Continue until it reliably doubles within the 12-hour period after every feeding. Temperature affects the process; it takes longer in a cooler room. Allow an average of 10 to 14 days.
A ready culture smells pleasantly sour and feels light and spongy. A teaspoon of it should float in a glass of water. Use a clean jar every day and mark the starting level with an elastic band so growth is easy to see.
07
Basic bread formula
- 100 g active sourdough culture
- 500 g bread flour
- 350 g water
- 15 g salt
08
Method
- Mix the flour and water and leave it for 30 minutes. This resting period helps binding and gluten development.
- Work in the active sourdough and salt thoroughly. Keep the dough covered.
- Stretch and fold the dough four times, with 30 minutes between each round. Handle it progressively less as it becomes stronger.
- Leave the dough for the first, long rise until it has almost doubled. The time will vary according to room temperature.
- Prepare a banneton, loaf tin, basket or suitable container with a cotton or linen cloth dusted well with gluten-free flour.
- Shape the dough, leave it to rest on the work surface for 30 minutes and then place it in the prepared container.
- Allow the shaped loaf to rise a second time. In the finger-press test, the dough should retain its shape but leave a slight indentation. A slow overnight rise in the refrigerator is also possible.
- Turn the loaf out onto baking paper and score the top with a very sharp blade. Make at least one main cut approximately 1.5 cm deep.
09
Covered baking method
Preheat the oven and a heatproof pot or dish with a lid to 230 °C. Place the loaf on the baking paper in the hot container, cover and bake for 20 minutes. Remove the lid, reduce the temperature to 190 °C and continue baking until the crust is attractively brown and the bread is cooked through.
10
Open baking method
Place the loaf in or on the chosen baking container. Preheat to 230 °C and place a separate dish of water in the oven to create steam. Remove the water after 20 minutes, reduce the temperature to 190 °C and continue baking until the crust is well developed.
11
Important tips
- A strong, regularly fed culture gives the best volume and flavour.
- Do not rush the rising times; insufficient fermentation often produces a heavy, dense or damp loaf with uneven holes.
- An overnight rise can improve flavour and handling.
- Allow the bread to cool completely before cutting it.
- Discard culture can be used in other baking or shared as a starter.
12
Presentation
Present the loaf on a breadboard. Do not add extra decorations.
13
Final checklist
- Active culture with a characteristic sourdough aroma
- Bread fully baked and cooled
- Good volume with balanced fermentation holes
- Attractively brown crust that is not too dark
- Clear, pleasant sourdough flavour
- Presented on a breadboard without decoration
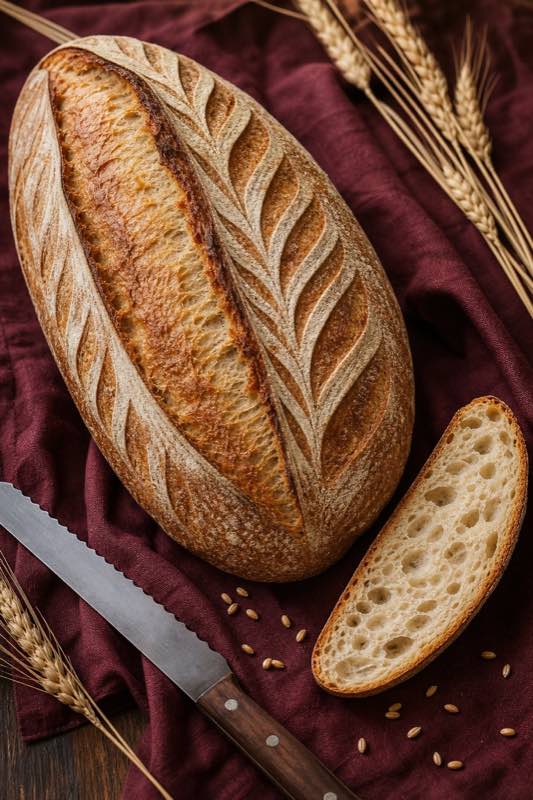
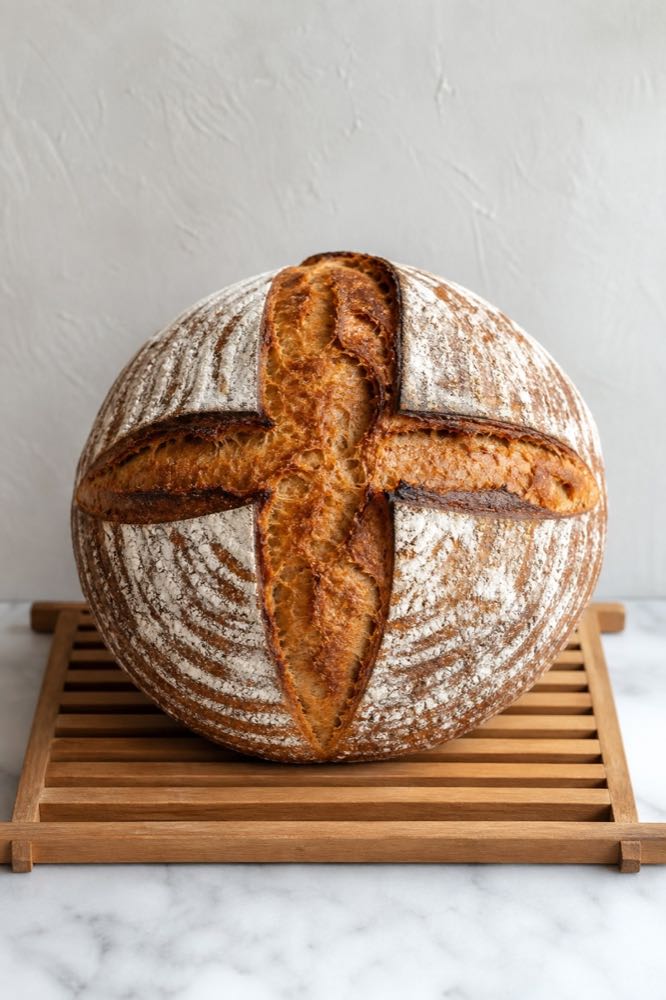
Two portrait-format examples
Baking
Use these original examples as inspiration for layout, colour and presentation—not as patterns to copy exactly.