Complete preparation guide
Choose text size
Change the article text to large, larger or largest.
01
Formal requirements
- The photograph must be presented in black and white.
- The main print must be A5 size. A 6 x 8 inch print, approximately 152 x 203 mm, is acceptable.
- Photograph the same scene from three different directions or angles.
- Select the best of the three as the main image.
- Mount the main image on a firm A4 mounting board. Ordinary 160 g coloured card is not suitable.
- Print the other two photographs smaller and attach them to the back of the mounting.
02
Visual approach
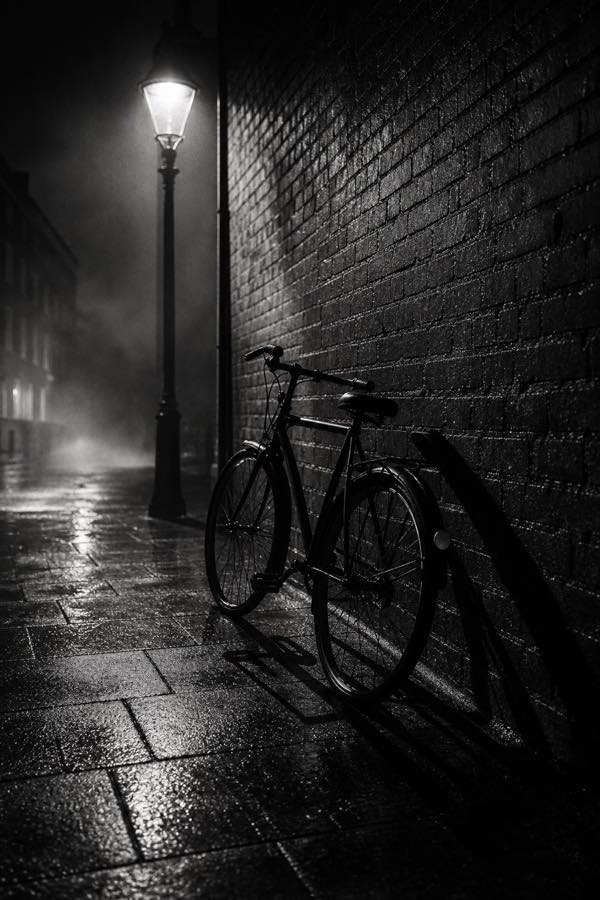
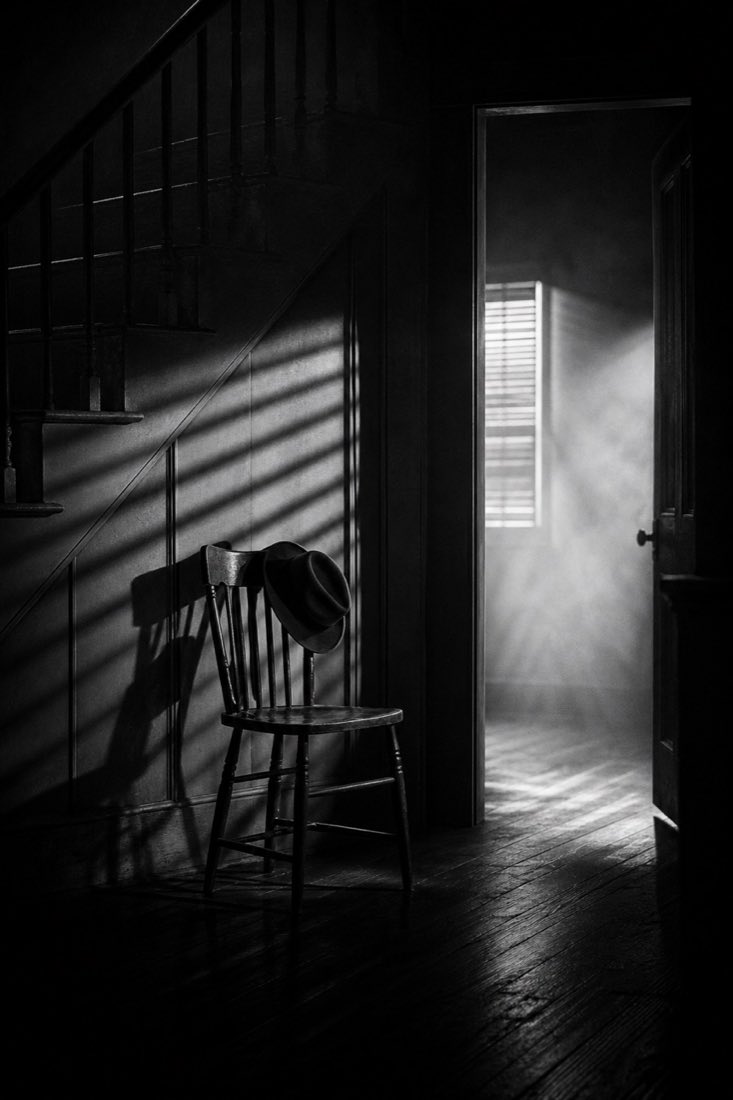
Noir is more than a dark filter. The image must carry a clear atmosphere and story. A recognisable subject is important, although it does not necessarily have to be sharply focused throughout. The subject should be visually separated from the background.
Look for doors, windows, stairs, passages, streetlights, rain, smoke, textures and strong geometric shadows. The scene should create tension or curiosity and evoke a sense of an earlier era.
03
Lighting
A single, smaller light source placed deliberately can be more dramatic than even lighting. Side lighting and backlighting emphasise texture and form. Allow deep shadows, but retain enough detail in the important parts of the image. The subject may appear to be moving towards the light or trapped within it.
04
Practical working sequence
- Choose a simple scene with few distractions.
- Determine the position of the light source and the main shadows.
- Photograph the scene from at least three clearly different angles.
- Make several exposures to control highlights and shadow detail.
- Select the strongest image based on story, atmosphere and composition.
- Process the photograph with restraint in black and white; avoid flat black areas without purpose.
- Check the final print for sharpness, tonal range and clean edges.
05
Presentation
Write the brand name or model of the camera, the lens and the light source used on the back of the mounting. Attach the two smaller alternative photographs to the back as well. Place the entry in a plastic envelope and label it PHOTOGRAPHY, followed by the entrant’s name, branch, region and province. Attach the judging card to the back of the mounting board with a sufficiently long piece of crochet thread.
06
Final checklist
- Black and white
- Main print A5 or approximately 152 x 203 mm
- Three photographs from different angles
- Best photograph mounted on firm A4 mounting board
- Two smaller photographs on the back
- Camera, lens and light-source details provided
- Correctly packed and labelled
Two portrait-format examples
Photography
Use these original examples as inspiration for layout, colour and presentation—not as patterns to copy exactly.