Complete preparation guide
Choose text size
Change the article text to large, larger or largest.
01
Competition requirements
- Any practical, fully finished entry may be made, for example a garment, placemat or handbag.
- The entry is judged as a whole and must be completed using correct machine-construction methods.
- The stitch-and-slash technique must be the dominant feature.
- The entry must be the entrant’s own work and may not be older than two years.
- Embellishments are allowed, but may not dominate the technique.
02
Fabric and layers
Place two or more layers of textile fabric on top of one another and use a durable fabric for the background and bottom layer. Choose colours that create interesting contrast when the upper layer or layers are cut open. Prewash fabrics if there is a possibility of uneven shrinkage.
03
Technical execution
- Stack the layers smoothly and correctly on the grain.
- Mark the pattern lines before stitching.
- Use a shorter stitch length to bind the layers firmly together.
- Stitch evenly along the planned lines and secure the starting and ending points.
- Use sharp, small scissors to cut open only the intended upper layers between the stitched lines.
- The bottom foundation layer must never be cut.
- Complete seams, linings, fastenings and edges with suitable construction methods.
04
Design tips
Plan the fabric sequence before stitching the layers together. Diagonal lines often produce a fuller, softer texture because more bias threads are exposed. Curves, waves and repeated geometric lines can create movement. Avoid too many different patterns or decorations that make the surface look confused.
05
Working sequence
- Choose the entry and draw the final pattern.
- Test the fabric, colour sequence, stitch length and cutting depth on a sample.
- Stack and stabilise the layers.
- Stitch all pattern lines with consistent spacing and tension.
- Cut open the upper layers without damaging the foundation.
- Brush or wash the sample if more frayed texture is desired.
- Complete the entry and clean all threads and edges.
06
What the judging focuses on
Appearance counts 50% and workmanship 50%. The judge considers the visual effect of the revealed colours, the rhythm of the lines, even stitching, controlled cutting, correct construction and the function of the completed entry.
07
Presentation
Place the entry in a transparent plastic bag and label it MACHINE WORK, followed by the entrant’s name, branch, region and province. Attach the judging card to the entry with crochet thread. Do not use a safety pin.
08
Final checklist
- Completed, practical entry
- Stitch-and-slash is the main feature
- Two or more fabric layers placed on top of one another
- Foundation layer not cut anywhere
- Correct seams, fastenings and edge finishing
- Entrant’s own work and not older than two years
- Correctly packed and labelled
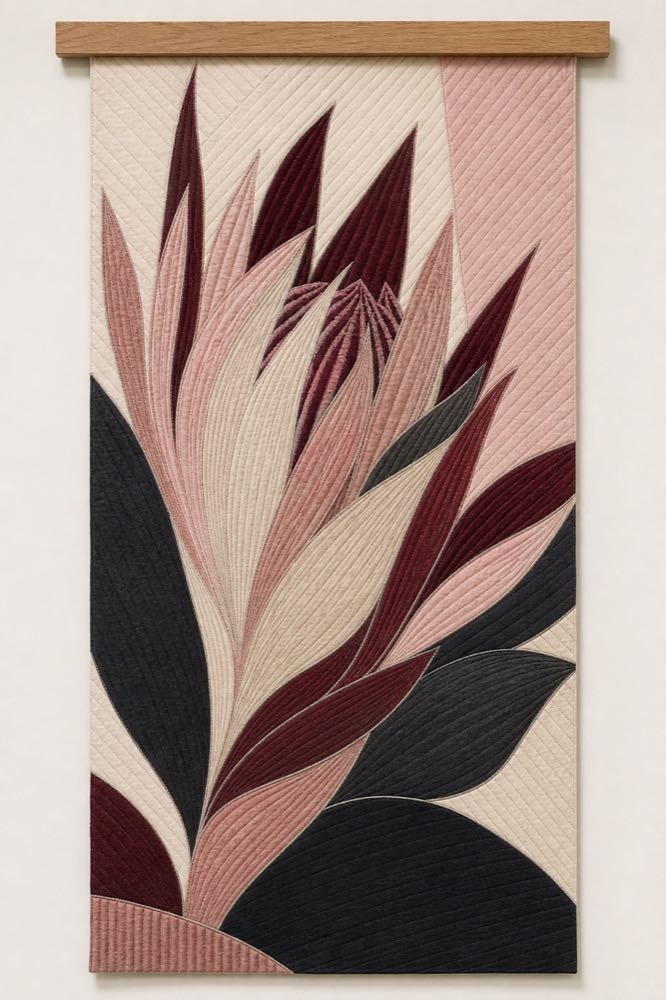
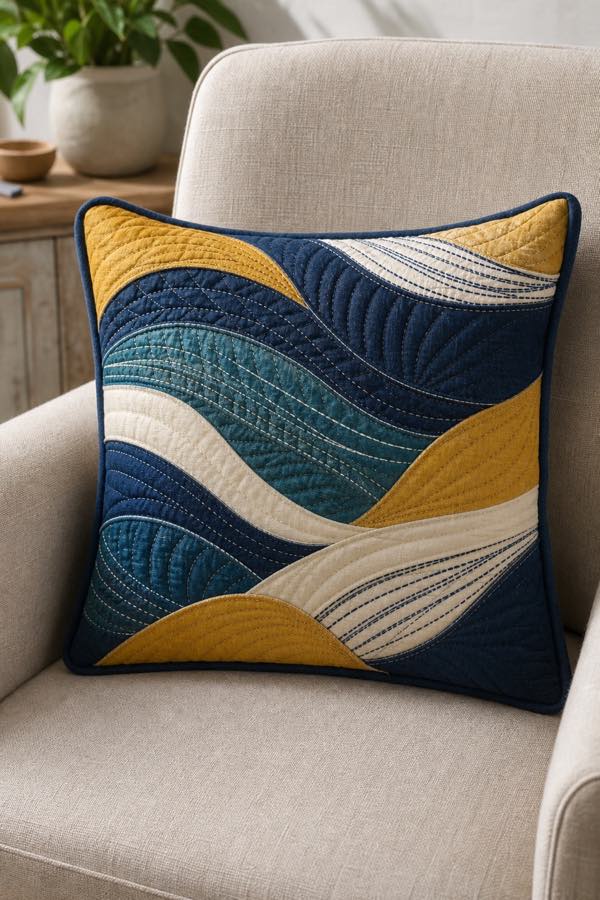
Two portrait-format examples
Machine Work
Use these original examples as inspiration for layout, colour and presentation—not as patterns to copy exactly.