Complete preparation guide
Choose text size
Change the article text to large, larger or largest.
01
Competition requirements
- The entry must be embroidered with an embroidery machine and may not be older than two years.
- Any shape is acceptable, but the total surface area must be at least 600 cm².
- A ratio of approximately 2:3 works especially well for a rectangular or oval cloth.
- An ordinary sewing machine may be used for the hem or for attaching lace, but this work may not dominate the machine embroidery.
- The embroidery machine’s capabilities must be used purposefully and skilfully.
02
Design and layout
Choose a motif that naturally suits the shape of the cloth. Because a tray is approached from different directions, the design should not have a fixed top or bottom. Smaller, refined motifs are usually more suitable than heavy, bulky designs. Avoid high or raised embroidery that could interfere with the practical use of the tray.
Use the edge finish as a visual frame. Repetition, balance, rhythm, colour and sufficient open space help the embroidery look calm and complete.
03
Fabric, stabilising and thread
- Choose a firm textile fabric with an even weave and an attractive surface.
- Pay attention to the grain when measuring and cutting the cloth.
- Match the type and weight of the stabiliser to the fabric and stitch density.
- Remove excess stabiliser carefully so that the back remains clean.
- Use thread that makes the design stand out clearly. The same colour as the top thread, or a finer bobbin thread, may be used underneath.
04
Working sequence
- Determine the final shape, size and edge finish.
- Make a paper template and test the placement of the motifs.
- Embroider a test piece to assess tension, thread, colour and stabiliser.
- Cut the fabric correctly on the grain and mark the centre lines.
- Stabilise without creases and embroider with controlled tension.
- Finish the edges accurately and remove all loose threads.
- Place the right side face down on a soft surface and press lightly from the wrong side. Starch may be used sparingly.
05
What the judging focuses on
Appearance counts 50% and workmanship 50%. A strong entry shows good proportion, balanced placement, suitable colours, even stitches, correct tension, a neat back and an edge finish that complements the embroidery.
06
Presentation
Cover a firm base neatly with fabric and tack approximately two thirds of the tray cloth onto it. Place it in a transparent plastic bag. Mark the packaging with EMBROIDERY WORK, the entrant’s name, branch, region and province. Attach the judging card to the entry with crochet thread. Do not use a safety pin.
07
Final checklist
- At least 600 cm²
- Not older than two years
- No fixed top or bottom in the design
- Embroidery dominates the entry
- Stabiliser used and removed neatly
- No creases, loose threads or poor tension
- Correctly mounted, packed and labelled
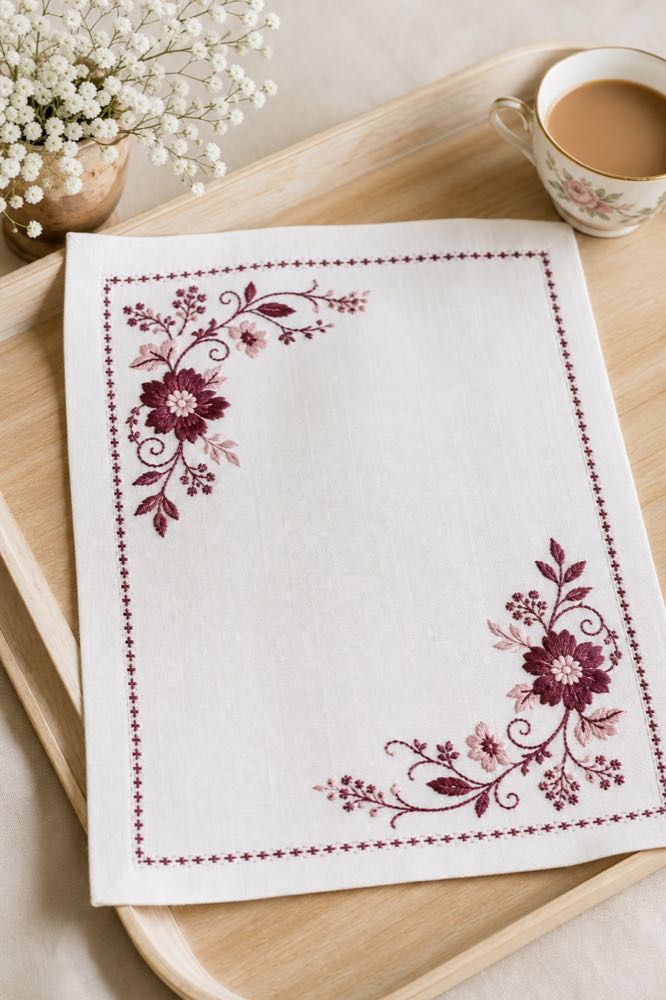
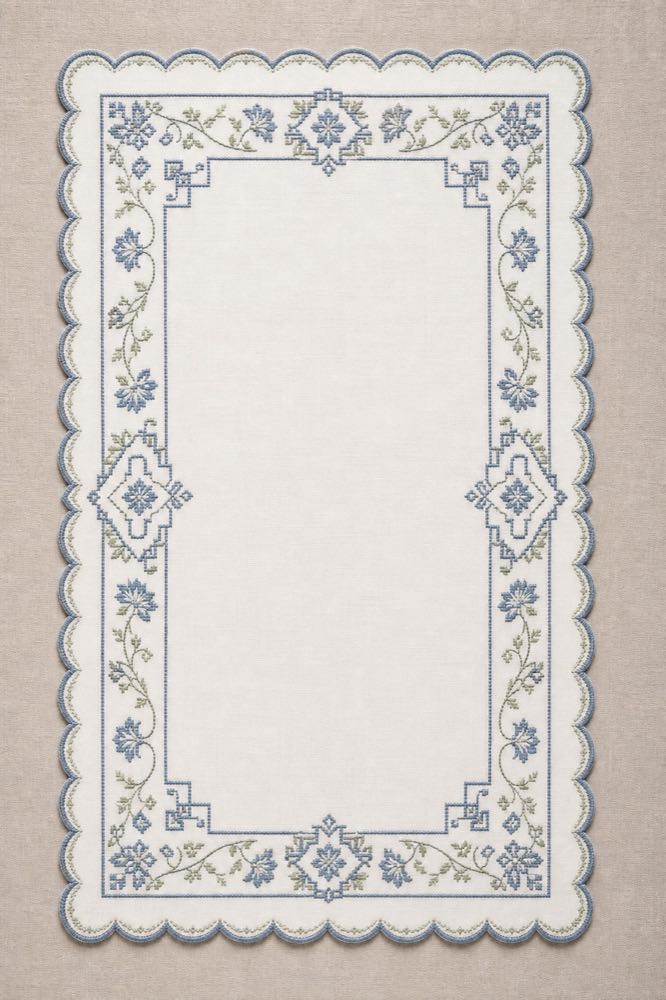
Two portrait-format examples
Embroidery Work
Use these original examples as inspiration for layout, colour and presentation—not as patterns to copy exactly.